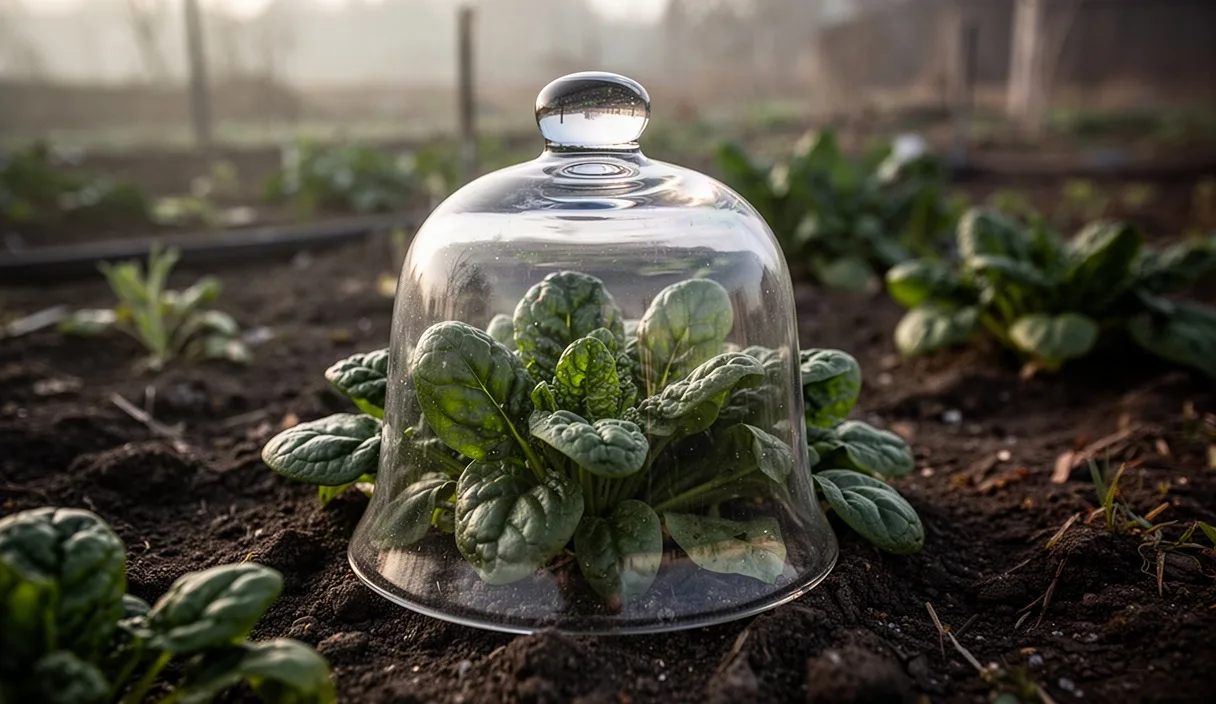
You can harvest fresh salad leaves every week from shallow balcony planters without needing a full garden bed. Discover which varieties regrow best and how often to take your snips for continuous production.
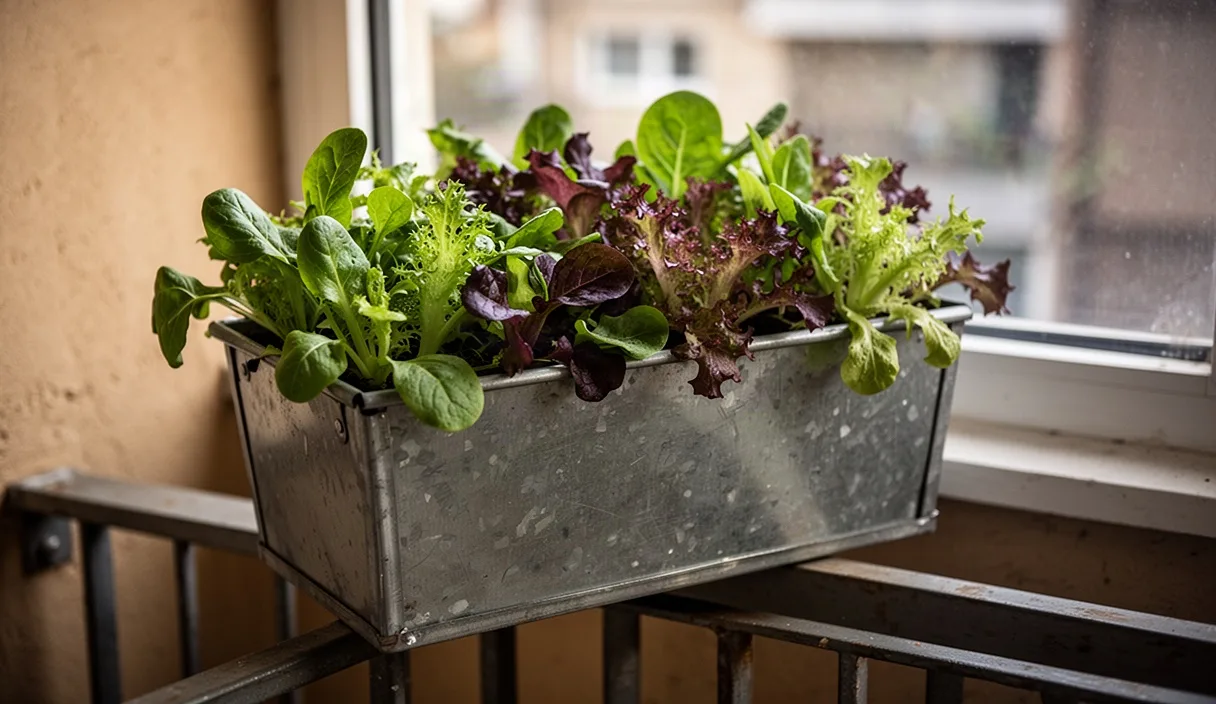

- Select loose-leaf varieties like oakleaf lettuce and mustard greens for repeated harvests.
- Cut leaves two centimetres above the central crown to allow fresh shoots to form.
- Feed with diluted liquid seaweed extract every two weeks to support fresh leaf growth.
Salad leaves bought in sealed plastic bags have a habit of turning to unappetizing green liquid before the week is out. Growing your own cut-and-come-again salad on a balcony solves that nuisance completely, providing crisp, peppery, or tender leaves right outside your kitchen door. You do not need a sprawling allotment plot or deep raised beds to keep a household supplied with fresh lunch greens from April through October.
A sunny or partially shaded balcony ledge gives salad roots everything they require, provided you treat the plants as continuous leaf producers rather than expecting them to form large, solitary heads. By clipping only the mature outer foliage and protecting the central growth crown, a single shallow container can yield multiple separate pickings before it needs reseeding. Pigeons may inspect your seedlings with the stern eye of a property developer, but a simple wire cover or netting will keep them from eating your hard work.
Choosing shallow troughs and fabric balcony planters
Salad greens are shallow-rooted annuals. Most loose-leaf lettuces, brassica greens, and companion herbs concentrate their feeder roots within the top 12 to 18 cm of growing medium. This makes them suited to wide, shallow containers that maximize surface area without adding excessive weight to a balcony structure. A standard rectangular plastic trough measuring 60 cm long, 20 cm wide, and 15 cm deep holds enough soil volume to support dozens of seedlings without drying out between morning and evening.
Fabric planters stitched from geotextile felt offer distinct biological advantages over rigid plastic. They air-prune roots as they reach the container edges, which stops root circling and encourages a fibrous, branching root network. Fabric also allows water to drain freely across the entire base rather than relying on a few small holes. However, fabric containers lose moisture through side evaporation quickly. On a breezy fifth-floor balcony, a plastic trough or a glazed clay planter often retains moisture more predictably than fabric.
When selecting your containers, match the material to your balcony microclimate and your daily schedule:
| Planter Material | Minimum Depth | Water Retention | Wind Stability |
|---|---|---|---|
| Rigid plastic trough | 15 cm | High | Moderate (lightweight until filled) |
| Geotextile fabric pocket | 12 cm | Low (dries rapidly) | Good (low profile, flexible) |
| Glazed ceramic box | 15 cm | High | Excellent (heavy base) |
| Untreated cedar planter | 18 cm | Moderate | Very good (sturdy build) |
Whatever material you select, check that drainage holes are present and unobstructed. Standing water in a trough suffocates salad roots within 48 hours, turning lower stems translucent and inviting rot. If you use plastic balcony railing brackets, choose planters with built-in drip trays or secure saucers underneath so drainage water does not drip onto neighbours living below you.
Selecting reliable cut-and-come-again seed mixtures
Not every lettuce variety adapts well to repeated harvesting. Crisphead lettuces like Iceberg or dense butterheads invest their energy into forming a single compact heart. Once you cut that heart at soil level, the plant cannot regenerate and dies. For continuous cropping, select loose-leaf varieties, Asian brassicas, and hardy greens bred to produce independent leaves from an active basal rosette.
Dependable loose-leaf choices include 'Lollo Rossa', 'Salad Bowl', 'Oakleaf', and 'Black Seeded Simpson'. These cultivars produce ruffled or lobed leaves that do not pack tightly together, which allows sunlight to reach the base of the stems and stimulates rapid replacement growth after each trimming. For cooler months in early spring or late autumn, Asian greens provide superior cold resistance. Mizuna, Tatsoi, and red mustard greens sprout quickly in chilly compost and bounce back within 10 to 14 days of being clipped.
Pre-packaged mesclun and baby-leaf seed mixes offer convenience, but examine the seed list on the back of the packet before purchasing. A reliable mix contains roughly three parts mild loose-leaf lettuces to one part spicy brassicas like wild rocket or mustard. When a seed mixture contains too many vigorous mustard seeds, those aggressive seedlings crowd out the slower-starting lettuces within three weeks, leaving you with a planter dominated entirely by bitter, pungent greens.
Herbs also fit well into cut-and-come-again mixtures. Chervil, flat-leaf parsley, and salad burnet can be intersown with loose-leaf lettuces to add texture and herbal complexity to your bowls. Avoid sowing aggressive spreading herbs like mint or large woody varieties like rosemary in the same shallow troughs, as their root networks will overwhelm delicate salad roots in weeks.
Sowing density for leaf harvesting rather than head formation
Traditional garden spacing guides tell you to thin lettuces to 25 or 30 cm apart so each plant can spread out. For balcony cut-and-come-again harvests, you invert that rule. You want a dense, uniform carpet of young stems that shade the soil, suppress weed seeds, and produce slender, tender stems rather than bulky leaf ribs.
Fill your container to within 2 cm of the rim with a peat-free multi-purpose potting compost mixed with roughly one part perlite to four parts compost to improve aeration. Moisten the compost thoroughly before sowing until it feels like a damp sponge. If you sow into dry compost and water afterwards, the seeds will float into clusters, ruining your spacing.
Use one of two sowing methods depending on container shape:
- Broadcasting: Scatter the seeds evenly across the entire surface of the compost, aiming for a distance of roughly 1.5 to 2.5 cm between individual seeds. This produces a solid, uniform turf of leaves that can be harvested using scissors across the full width of the box.
- Shallow drills: Draw shallow parallel furrows across the planter spaced 6 to 8 cm apart and 5 mm deep. Sow seeds thinly along each groove. This layout makes it easier to inspect the soil surface and direct water directly to the base of the stems.
Cover the seeds with a very light dusting of fine compost or horticultural vermiculite, no deeper than 3 to 5 mm. Many salad seeds need light to break dormancy; burying them under 15 mm of heavy compost will delay or stop germination. Press the surface down gently with a flat piece of wood or your palm to establish good contact between seed and soil, then mist the top lightly with a spray bottle. At temperatures between 15 and 20 degrees Celsius, seedlings will emerge in four to seven days.
The correct cutting height to preserve the crown
The secret to keeping salad plants productive across multiple harvests lies in where you make your cut. Every salad plant possesses a central growing point called the crown or basal rosette. This is the compact junction at the base of the plant, situated just above the soil line, where tiny new leaves form. If you cut into or below this crown, the plant loses its ability to push out new foliage and will wither.
Wait until your seedlings reach a height of 10 to 12 cm before taking your first harvest. Harvesting earlier weakens young roots before they have built sufficient carbohydrate reserves. Use clean, sharp kitchen scissors, bonsai snips, or curved harvest shears. Dull blades crush the vascular bundles inside the stems, tearing plant tissue and inviting fungal pathogens like botrytis to enter the wounds.
To cut correctly, follow these specific actions:
- Gently gather a small handful of leaves with your non-dominant hand, lifting them upright without pulling the roots loose from the soil.
- Position the scissor blades horizontally 3 cm above the compost line, clearly above the central crown.
- Snip cleanly across the stems in a single pass.
- Leave the tiny, immature leaves at the very centre of the rosette untouched so they can immediately continue photosynthesizing.
Never strip a trough down to bare stubs. The remaining 3 cm of stem and small central leaves keep the root system energized. Under average daytime temperatures of 18 degrees Celsius, the plants will generate another harvestable canopy of leaves in 12 to 16 days. You can typically repeat this process three or four times from a single sowing before the leaves lose their crisp texture or begin to taste bitter.
Water management in windy balcony microclimates
Balcony growing conditions are substantially more demanding than sheltered ground-level gardens. Wind speeds increase with building height, swirling around masonry edges and funnelling between towers. This constant airflow strips moisture from plant leaves via transpiration twice as fast as in an enclosed courtyard. In a small trough with limited soil volume, a hot, windy afternoon can deplete moisture reserves completely, causing young seedlings to wilt beyond recovery by dinner time.
Rely on tactile checks rather than visual estimates. Insert an index finger 3 cm into the compost every morning. If the compost feels cool and damp at your fingertip, no irrigation is needed. If the soil feels dry or warm, water immediately. Always apply water early in the morning so that any moisture splashed onto lower leaves evaporates during the day. Wet foliage overnight invites downy mildew and botrytis, particularly in compact city environments.
To prevent the soil from drying out rapidly, consider these practical moisture controls:
- Apply a surface mulch: Spread a 5 mm layer of coarse vermiculite, cocoa shell flakes, or fine horticultural grit over the exposed compost between rows. Mulch slows direct surface evaporation and keeps soil temperatures cooler on sunny days.
- Water at the base: Direct the spout of your watering can beneath the leaf canopy rather than soaking the plants from above. This delivers water straight to the root zone without matting delicate leaves against the compost.
- Install windbreaks: If your balcony is prone to strong breezes, affix bamboo slatting, shade netting, or woven willow hurdles to the windward side of the balustrade. Filtering wind by 40 to 60 percent dramatically reduces moisture stress and prevents stems from snapping.
During peak summer heat waves, shallow containers may require watering twice daily. If you must be away from home during the day, place capillary matting soaked with water beneath the containers, allowing the soil to draw moisture upward through the base drainage holes as it dries.
Refreshing exhausted compost between succession sowings
Even with careful cutting and diligent watering, salad plants will eventually reach the end of their productive lives. After three or four flushes of growth, the stems become woody, leaf growth slows down, and the plants attempt to bolt by sending up tall, fibrous flower spikes. At this stage, leaves turn unpleasantly bitter and tough. The container must be cleared and replanted.
You do not need to throw away your potting soil and buy new bags after every harvest cycle. Balcony compost can be reconditioned and used repeatedly if you replenish the nutrients consumed by the previous crop. Fast-growing leafy greens consume significant amounts of available nitrogen, leaving the compost depleted and physically compacted by dense root threads.
To restore an exhausted trough, carry out the following actions:
- Grasp the spent salad plants by their collective stems and pull the old root mats out of the container.
- Shake the root clumps vigorously over the trough to retain as much loose compost as possible, then discard the old root masses into a garden waste bin or worm composter.
- Use a small hand fork to break apart soil clods and loosen compacted areas throughout the trough.
- Incorporate two generous handfuls of worm castings or rich homemade leaf mould into the top 10 cm of compost to restore beneficial microbiology.
- Sprinkle 25 grams of a balanced organic granular fertilizer (such as a 4-4-4 NPK formulation) evenly across the soil and work it in with your trowel.
- Top up the planter with fresh peat-free compost to bring the soil level back to within 2 cm of the container rim.
Once reconditioned, water the container thoroughly with diluted seaweed extract to rehydrate the mix and stimulate bacterial activity. Let the compost rest for two days before scattering your next round of seeds. If you manage three separate troughs on a staggered sowing schedule spaced 14 to 18 days apart, you will never face a gap in your harvest calendar.
Common mistakes to avoid
- Cutting below the crown: Snipping stems flush with the compost removes the plant's apical meristem, killing the seedling and preventing any second crop from forming.
- Burying tiny seeds too deep: Salad seeds have limited starch reserves. Planting them deeper than 5 mm results in patchy germination, as seedlings exhaust their energy before breaking the soil surface.
- Overfeeding with chemical nitrogen: Applying heavy doses of synthetic high-nitrogen liquid fertilizer produces soft, watery leaf tissue that attracts aphids and wilts within minutes of being picked.
- Sowing entire seed packets at once: Scattering an entire 1,000-seed packet into a single trough leads to severe overcrowding, damping-off disease, and far more salad than one kitchen can eat in a single week.
- Overloading balcony weight limits: Salad troughs are relatively light, but multiple large planters, ceramic pots, and waterlogged soil accumulate mass quickly. If you plan an extensive container garden with dozens of planters, check your building lease specifications or consult a structural engineer regarding load capacities.
Practical next steps for your balcony
Start your balcony salad garden by measuring the sunny spots along your railing or windowsill. Order two shallow troughs with matching drip trays, a bag of peat-free potting compost, and two contrasting seed packets, such as an Oakleaf lettuce blend and a spicy Asian green mix like Tatsoi or Mizuna.
Sow your first container this weekend, following the broadcasting method to achieve an even, dense distribution. Keep the soil evenly moist and sheltered from direct harsh wind until the seedlings establish their first true leaves. In approximately four weeks, take your clean harvest scissors out to the balcony, cut your first batch 3 cm above the soil, and enjoy fresh leaves that have never spent a single minute suffocating in plastic packaging.
This publication provides general horticultural advice for home gardeners; consult a professional agronomist or arborist for commercial crops or structural tree safety. Disclaimer