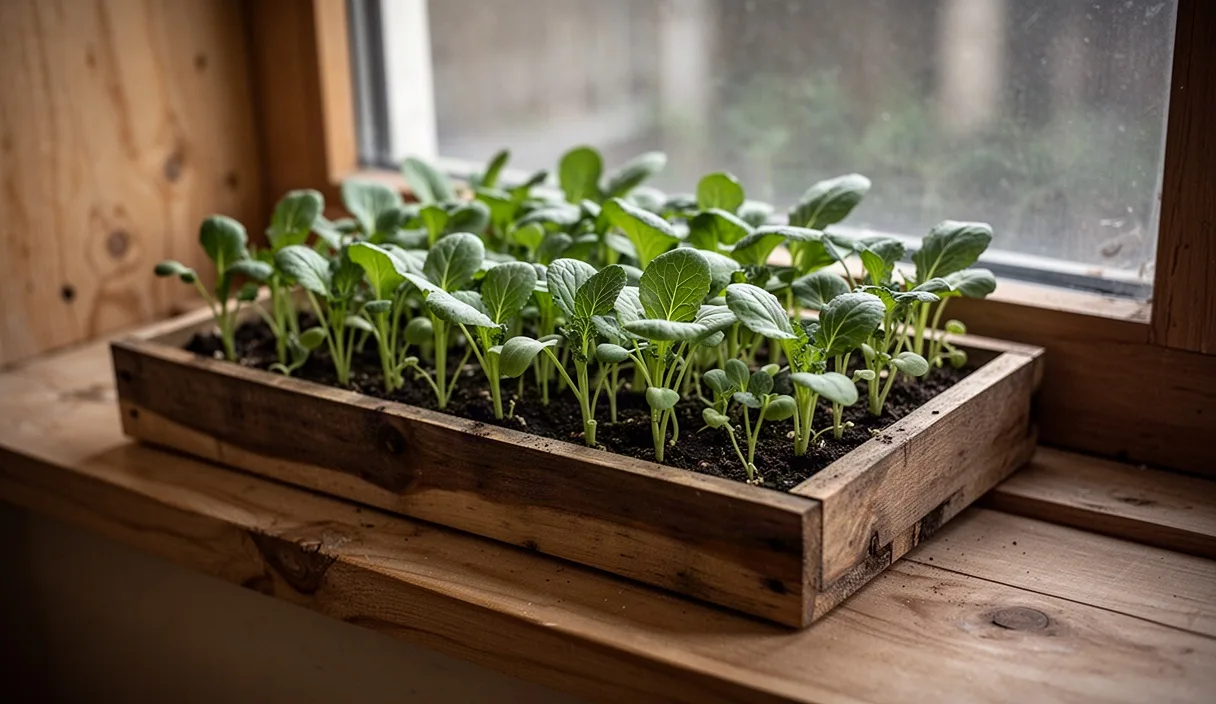
You can safely transplant fragile tomato sprouts into individual modules without tearing their root systems. Learn the exact stage to handle them and how deep to bury the stems for extra root development.
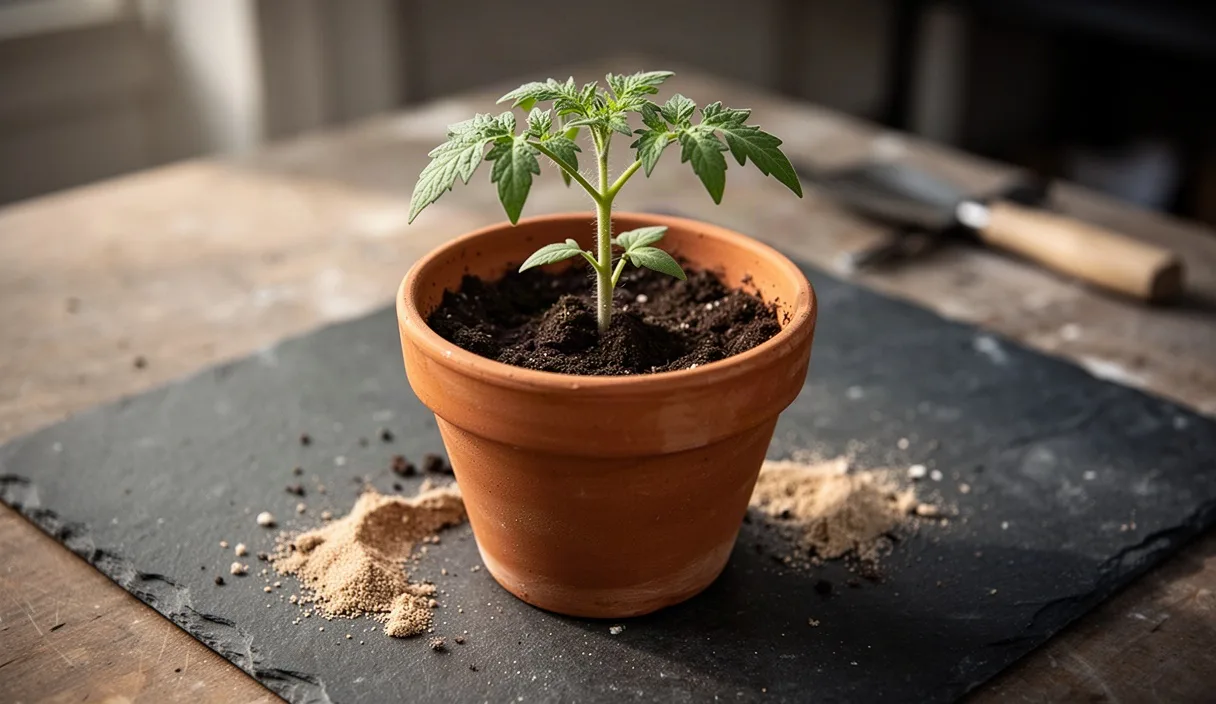

- Always handle seedlings by their true leaves rather than the delicate main stem.
- Bury the stem right up to the first seed leaves to trigger adventitious root formation.
- Water module trays from below for twenty minutes after potting on to settle air pockets.
Sowing tomato seeds closely in a shallow flat saves space and heating costs during the chilly early weeks of spring. Eventually, those crowded green sprouts run out of room, light, and nutrients. Pricking out is the traditional gardening practice of lifting each young seedling from its shared germination tray and moving it to its own individual container. When done carefully, this process encourages strong root branches and sturdy, stocky stems.
The danger lies in handling. A young tomato plant looks resilient, but its fine root hairs are fragile filaments easily sheared by clumsy fingers or hard tools. Crushing the central stem usually kills the plant, whereas tearing a leaf simply slows it down for a couple of days. Learning how to lever, lift, and transplant these delicate starts without tearing their underground network ensures that almost every seedling you prick out will survive the move to become a robust garden plant.
Identifying the emergence of the first true leaves
Timing determines success when pricking out. If you move seedlings too early, their root systems are too small to anchor into fresh compost and their stems are as thin as sewing thread. If you wait too long, their roots tangle into a tight mat that cannot be separated without extensive tearing. The ideal moment arrives when the seedling develops its first set of true leaves, which appear directly above the smooth, oval cotyledons (the original seed leaves).
Cotyledons supply the initial energy stored inside the seed coat, but true leaves indicate that the plant has begun active photosynthesis and root expansion. These true leaves feature the characteristic jagged edges and distinctive herbal scent of mature tomato foliage. As soon as the first pair expands to roughly the size of a fingernail, the plant has enough cellular stamina to recover quickly from root disturbance.
| Stage | Visual indicators | Root structure | Readiness for pricking out |
|---|---|---|---|
| Cotyledon emergence | Two smooth, rounded seed leaves open; no central bud. | Single unbranched taproot with sparse hairs. | Too early. Stems bruise easily. |
| First true leaves (optimal) | Serrated miniature leaves show between cotyledons. | Taproot begins developing lateral feeder roots. | Ideal. Fast recovery and easy separation. |
| Multiple true leaf sets | Two to three pairs of leaves; plants shade each other. | Dense root mesh intertwined with neighbours. | Late. Requires careful detangling in water. |
Most tomato varieties reach this stage between 10 and 16 days after germination when kept at consistent room temperatures between 18 and 21 degrees Celsius. Inspect the seed tray daily under good light. Look into the center of the cotyledon junction: once you spot tiny, fuzzy, serrated leaves pushing outward, prepare your pots and potting compost for transplanting within the next 48 hours.
Loosening root clusters with a blunt wooden dibber
Never pull a seedling out of loose compost by its top growth. Tension tears the delicate root hairs away from the primary root, leaving the plant unable to draw moisture. Instead, loosen the growing medium from below so the roots slide out freely. A blunt wooden dibber is the best tool for this job. You can buy a turned beechwood dibber, but an ordinary wooden ice cream stick, a dull pencil, or a repurposed bamboo plant label works just as well.
Wood is superior to metal teaspoons or steel transplanting forks because its slightly textured, softer edge gives way against root tissue rather than slicing through it. Metal tools often shear tender lateral roots against the plastic base of the tray. A wooden tool glides through light seed compost, separating clumps while maintaining the integrity of the root system.
To ease a seedling free, insert the dibber vertically into the soil about 2 cm away from the stem of the target plant. Push the tip down until it touches the bottom of the seedling tray. Gently lever the handle backward, pivoting on the rim of the tray to lift the root ball upward from underneath. Work in small increments around the perimeter of the seedling until the compost loosens and the plant sits elevated on a loose mound of soil.
If you sowed your seeds heavily and the roots have joined into a shared cluster, lift the entire clump out together onto a clean workbench. Use two wooden dibbers to pry the compost ball apart gently, teasing the intertwined roots apart as if you were untangling a fine necklace. Avoid shaking the roots dry of soil; keeping small crumbs of original compost clinging to the root tips protects them from drying air.
Safe handling techniques using leaf tips only
The golden rule of seedling propagation is straightforward: hold the plant by its leaves, never by its stem. A tomato stem is a hollow, pressurized column packed with vascular bundles that transport water and sugars. If your fingers pinch that stem with even a tiny amount of excess pressure, the vascular tissue crushes permanently. The plant cannot repair crushed stem walls, and damping-off fungi quickly colonize the injured site.
Foliage, by contrast, is fully expendable. If an accidental slip tears half of a cotyledon or bruises the margin of a true leaf, the plant continues growing without missing a beat. It will photosynthesize with the remaining tissue and produce fresh replacement leaves within days.
- Support the base of the lifted root ball with your wooden dibber held in your dominant hand.
- Gently grasp the outer tip of one cotyledon between the pad of your index finger and your thumb using your non-dominant hand.
- Lift the seedling by guiding it with the leaf tip while using the dibber underneath to carry the actual weight of the root system and clinging compost.
- Keep your fingers away from the hypocotyl, which is the tender section of stem between the root crown and the cotyledon joint.
- Move the seedling immediately into its prepared hole in the new pot, avoiding any swinging motions through dry indoor air.
If a seedling drops onto the bench, resist the urge to pinch its stem to pick it back up. Slide your wooden dibber underneath its root clump or roll it gently onto a piece of card to lift it again. Patience during these few seconds makes the difference between a thriving plant and a failed start.
Planting depth adjustments for extra root growth
Tomatoes possess an unusual botanical trait that gives gardeners a distinct advantage: adventitious root production. Tiny hair-like bumps visible along the stem, called root primordia, transform into active roots when buried in dark, moist compost. Pricking out is your best opportunity to turn tall, spindly seedlings into compact, strong-rooted specimens by burying their stems deep.
Prepare individual pots measuring roughly 7 cm to 9 cm wide. Fill each pot to within 1 cm of the rim with a moist, peat-free potting compost designed for young plants. Use your finger or a thick garden dibber to press a wide, deep hole straight down through the center of the pot, reaching almost all the way to the bottom drainage holes.
Lower the seedling into this hole until the compost level sits just below the cotyledons, roughly 5 mm beneath their junction with the main stem. By burying up to two thirds of a leggy seedling stem, you prevent the plant from flopping over in search of light. Over the next two weeks, the buried stem will sprout dozens of new lateral roots, providing a large underground network capable of supporting heavy summer fruit loads.
Ensure the roots point downward in the hole rather than folding back up toward the surface in a "J" shape. If the seedling root is unusually long, make the hole deeper or hold the plant suspended while backfilling fresh compost around it. Gently tap the base of the pot on the bench twice to settle the soil around the buried stem. Do not press down firmly with your thumbs, as compacted compost restricts airflow and suffocates developing root hairs.
Settling newly potted tomatoes with bottom watering
Pouring water from a watering can onto the surface of a fresh transplant causes several problems. The rushing stream washes compost away from the stem, exposes tender root hairs, and forces the tiny plant to keel over in the mud. Surface watering also compacts the top layer of compost, forming a hard crust when it dries under grow lights.
Bottom watering avoids all of these issues by using capillary action to saturate the root zone without moving a single grain of compost. The water rises slowly through the drainage holes at the base of the pot, expelling trapped air pockets while pulling the compost particles into close, gentle contact with the roots.
- Place your newly potted tomato seedlings into a shallow, watertight tray or baking pan with sides at least 3 cm high.
- Fill the tray with room-temperature water (ideally between 18 and 22 degrees Celsius) until the water level reaches roughly 2 cm up the sides of the pots. Using cold tap water shocks the roots and stalls growth.
- Allow the pots to sit in the water bath for 15 to 25 minutes. Watch the compost surface; you will notice it darkening as the moisture climbs to the top.
- Remove the pots from the tray as soon as the surface feels damp to the touch, or drain the remaining water out of the tray thoroughly.
Never leave potted seedlings standing in water for more than 45 minutes. Prolonged waterlogging pushes out all oxygen from the root zone, which can trigger root rot within hours. Once drained, the pots should feel noticeably heavy, confirming that the entire column of soil is evenly hydrated from base to surface.
Monitoring moisture levels over the first two days
The first 48 hours following pricking out represent the recovery window. Even when handled with extreme care, seedling roots experience micro-tears, and their uptake of water slows temporarily. Your main goal during this phase is reducing the plant's moisture loss through transpiration while the roots establish contact with the new compost.
Keep the potted seedlings out of direct sunlight and away from hot, intense grow lights for the first 24 hours. A spot with bright, indirect light prevents the foliage from wilting under heat stress. If you use adjustable grow lights, raise them roughly 15 cm higher than their usual operating height for the first day, or dim their output to half power to give the plants a gentle transition.
Instead of relying on a visual inspection of the topsoil, monitor your seedlings by lifting the pots to check their weight. A properly hydrated pot feels substantial, while a dry pot feels surprisingly light. The top 5 mm of compost may turn pale within a day due to room ventilation, but if the pot still feels heavy, the roots underneath remain moist. Adding surface water prematurely suffocates the lower roots.
Normal behavior includes a slight droop in the leaves for four to six hours after transplanting. By the following morning, the seedlings should stand upright with their true leaves held horizontally. If a seedling remains flat on the compost surface after 24 hours, check that the stem has not been pinched and verify that the potting mix around the stem is slightly moist rather than bone-dry or swimming in pooled water.
Common mistakes
A few frequent missteps account for most losses during seedling transplantation. Being aware of them makes it easier to keep your plants healthy throughout the process:
- Lifting by the stem: Grabbing the seedling by its stalk almost always causes internal bruising that stops water transport. Always hold the leaf tips.
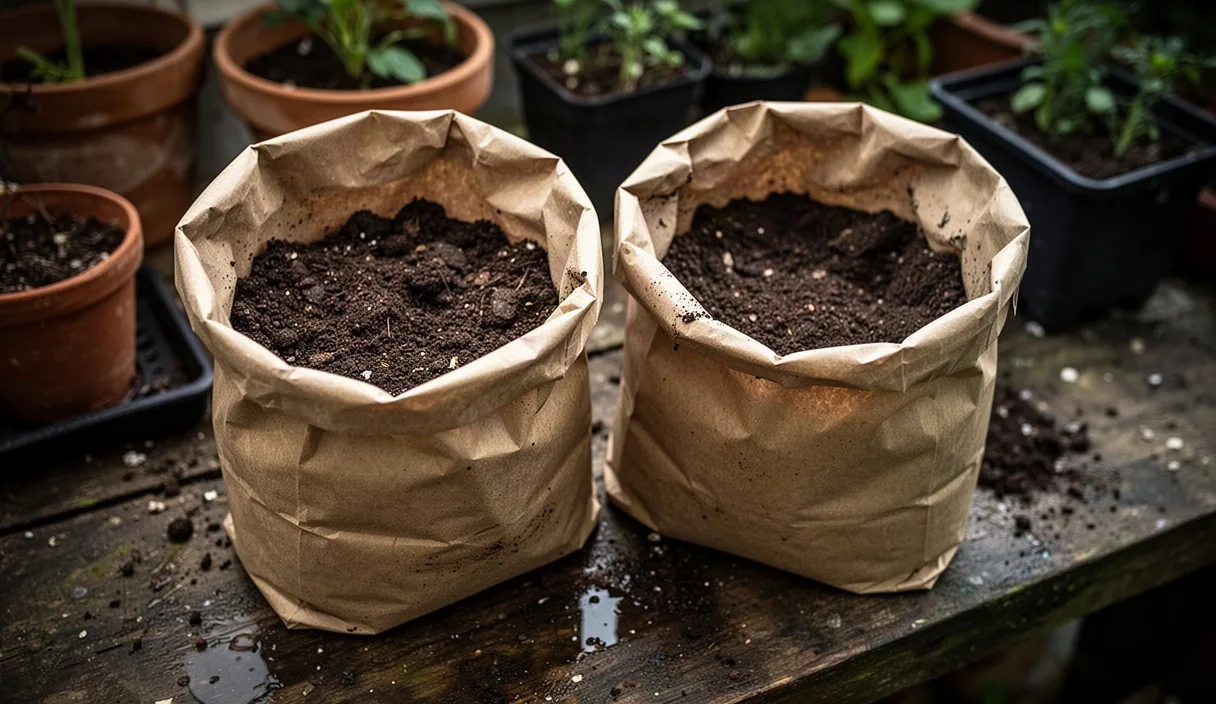
- Pricking out into cold compost: Bags of potting soil kept outside or in an unheated shed are often cold and wet. Bring your compost indoors 24 hours ahead of time so it warms to room temperature before planting.
- Delaying transplantation: Leaving seedlings in overcrowded trays until they become root-bound results in severe root breakage during separation and delays your eventual harvest.
- Firming soil too aggressively: Pushing down on the compost with fingers crushes delicate root tips. Settle the soil with gentle taps of the pot and bottom watering instead.
- Immediate exposure to intense heat: Putting freshly pricked out plants right back onto heat mats or under blazing sun scorches them before the roots can take up replacement water.
Next steps in seedling care
Once your tomato seedlings pass the 48-hour mark without wilting, their root hairs are actively expanding into their new space. Return them to direct light or lower your grow lights to roughly 8 cm to 10 cm above the leaf tips to keep their growth stocky and stout. Maintain daytime temperatures near 18 to 20 degrees Celsius and nighttime temperatures around 15 degrees Celsius to encourage thick stems.
You will not need to feed your seedlings right away. Good quality potting compost contains enough balanced nutrients to sustain young tomatoes for about two to three weeks. Watch the plants for the appearance of their third and fourth sets of true leaves; once those emerge and the foliage turns a deep, healthy green, you can begin feeding with a weak, balanced organic liquid fertilizer diluted to quarter-strength once per week. Continue bottom watering whenever the pots feel light, and your young tomatoes will be well on their way to garden readiness.
This publication provides general horticultural advice for home gardeners; consult a professional agronomist or arborist for commercial crops or structural tree safety. Disclaimer