You will learn how to balance indoor warmth with natural light so your stems remain stocky and upright. With three simple windowsill adjustments, you can keep young seedlings sturdy until planting time arrives.

- Lower the room temperature slightly once seeds germinate to slow excessive stem elongation.
- Rotate trays by a quarter turn each morning to prevent one-sided leaning toward window glass.
- Position reflective foil cardboard behind seed flats to double available ambient daylight.
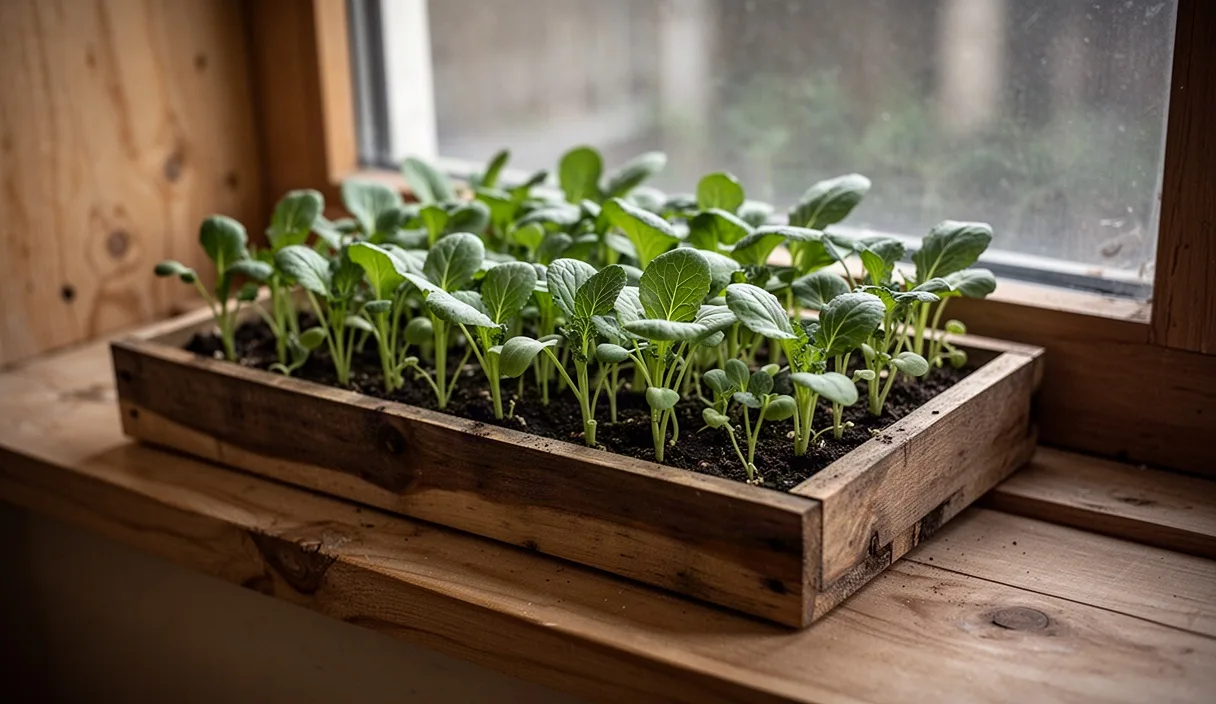
A tray of newly sprouted seedlings brings a distinct thrill, followed quickly by dread when those neat green shoots turn into five-centimeter threads leaning desperately against the glass. Most windowsill growers have watched this drama play out. The seeds germinate on schedule, pop through the compost, and then stretch out like pale gymnasts until they collapse under their own weight. It feels like an inevitable spring tax, but it is actually a structural response to an uneven environment.
Window glass separates two conflicting worlds. Outside, early spring light remains weak, diffused by seasonal haze and short daylight hours. Inside, our central heating creates the balmy conditions of late May. Caught between summer warmth and winter sun, the seedling behaves logically: it spends every milligram of its stored carbohydrate reserves on upward race tactics to reach a forest canopy that does not exist. Halting this stretch requires rebalancing the physical cues of heat, light duration, and air movement.
Why indoor warmth triggers tall and weak stems
Seedlings rely on chemical signals to decide how fast and how tall to grow. The primary driver of stem elongation is a class of plant hormones called gibberellins. In warm soil and warm air, cellular metabolism runs at full speed. Cells divide rapidly, and enzymatic reactions signal the plant that conditions are prime for vegetative growth. In an average living room kept at 21 to 23 degrees Celsius, these chemical reactions occur around the clock.
Light acts as the brake pedal on this elongation. Photoreceptors called phytochromes and cryptochromes absorb photons from the red and blue spectrums. When these receptors detect intense, direct light, they suppress the production of gibberellins, telling the hypocotyl, the initial stem segment below the seed leaves, to stop stretching and start thickening. If the ambient temperature is high, the plant's metabolic engine demands substantial photon energy to support that pace. If the window cannot supply enough photons, respiration burns through stored sugars faster than photosynthesis can create new ones.
The result is a structural imbalance. The stem creates thin, watery cell walls lacking adequate cellulose and lignin. Deprived of mechanical resistance and proper blue light wavelengths, the hypocotyl stretches out in an attempt to outgrow the perceived shade of competing plants. This process, known as shade avoidance response, leaves you with tall, floppy seedlings that cannot support the weight of their own cotyledons.
Measuring daylight hours on east and south sills
Not all window aspects deliver the photon volume young plants need. Early in the growing season, between February and April in the northern hemisphere, the sun sits low in the sky, and daylight hours are naturally limited. A room that feels bright to human eyes can still be an optical desert for a brassica or tomato seedling.
An east-facing sill captures the first rays of the morning. While morning light is gentle and unlikely to scorch tender tissues, direct exposure rarely lasts more than three to four hours before the sun moves past the house roofline. For the rest of the day, an east window receives only ambient skylight. This indirect exposure is seldom enough to satisfy high-light crops like peppers, eggplants, or cabbages, which need steady illumination to stay compact.
South-facing sills provide the strongest natural light profile available in a home. In late winter, a clear south window can supply six to seven hours of direct sunlight. However, modern double glazing filters out roughly 15 to 28 percent of incoming photosynthetically active radiation, and window frames cast thick shadows that migrate across the flat as the sun arcs across the sky. Seedlings on the edge of the flat often receive half the light of those centered in the pane.
You can evaluate your window's actual output using an inexpensive lux meter or a calibrated smartphone light sensor app. While lux measures human perception rather than plant-usable photosynthetically active radiation, it still provides a clear relative baseline for windowsill propagation.
| Window Orientation | Average Direct Light Hours (Spring) | Typical Lux on Sunny Day | Suitability for Unassisted Seedlings |
|---|---|---|---|
| South-facing | 5 to 7 hours | 18,000 to 45,000 lux | Good for onions, brassicas, early tomatoes |
| East-facing | 3 to 4 hours | 8,000 to 20,000 lux | Marginal; suited only to shade-tolerant greens |
| West-facing | 3 to 5 hours | 12,000 to 30,000 lux | Acceptable, but hot afternoon rays can dry cells |
| North-facing | Zero direct hours | 1,500 to 4,500 lux | Unsuitable; causes severe elongation within 48 hours |
Lowering night temperatures to build stem girth
Commercial greenhouse growers control plant height through a technique called DIF, which refers to the mathematical difference between day and night temperatures. When night temperatures are equal to or higher than day temperatures, plants stretch significantly. Conversely, when night temperatures drop below day temperatures, stem elongation slows down, and the plant invests resources in radial stem expansion and root development.
In a standard centrally heated house, the indoor temperature often remains flat at 20 degrees Celsius overnight, or drops only slightly. To mimic natural outdoor rhythms and encourage stocky growth, windowsill flats should experience an overnight drop of 4 to 6 degrees Celsius once the seeds have emerged. For cool-weather crops like broccoli, cauliflower, and leeks, dropping the night temperature to 13 or 14 degrees Celsius builds remarkably stout stems.
You can manage this drop without complex climate controls through simple household adjustments:
- Move seedling flats off the sill at dusk and place them on an unheated mudroom or utility room floor where temperatures hover near 15 degrees Celsius.
- If the window area has heavy thermal curtains, close the curtains between the room and the tray, trapping the plants in the cooler microclimate created right next to the glass. Check with a minimum-maximum thermometer to make sure the glass pocket does not drop below 8 degrees Celsius for warm-season crops like tomatoes.
- Shut off the radiator valves in the propagation room during the evening to allow natural cooling through the home exterior walls.
Pairing cooler nights with physical stimulation also produces stockier stems. In nature, wind constantly flexes young plants, causing micro-tears in the stem tissues that heal with thicker, woodier cell walls, a phenomenon known as thigmomorphogenesis. You can trigger this response indoors by gently brushing your open hand back and forth over the seedling tops for thirty seconds twice a day, or running a small USB oscillating fan on its lowest setting across the tray for an hour every afternoon.
Setting up simple light reflectors behind trays
Light falling on a windowsill is inherently directional. Photons enter horizontally through the pane, leaving the interior side of the seedling stem in shade. Driven by positive phototropism, the plant produces auxins on the shaded side of its stem, causing those shadowed cells to grow longer and forcing the plant to crook sharply toward the pane. While turning the tray 180 degrees every morning is a common chore, it forces the seedling to waste energy constantly straightening and rebending its stem.
A better solution is to build a three-sided light reflector that catches the light passing through the flat and bounces it back against the room-facing side of the plants. This equalizes light pressure, keeping hypocotyls upright and increasing total light absorption without adding an electrical fixture.
To assemble an effective reflector system:
- Cut a piece of sturdy cardboard or foam display board to the length of your seed tray, with a height of roughly 25 to 30 centimeters.
- Cover the board with a high-reflectance material. Standard white foam core board is an ideal choice because its matte white surface scatters light evenly without creating concentrated hot spots. If using cardboard, glue heavy-duty aluminum foil over the surface with the dull side facing out, or tape smooth white printer paper across it.
- Cut two smaller side wings, roughly 15 centimeters wide, and tape them to the main board with duct tape to create a three-sided, folding trifold screen.
- Set the reflector board directly behind the seed tray on the room side, angling the side wings slightly toward the glass. The board should catch the angled morning and midday sun and illuminate the shaded backs of the stems.
Keep the reflector upright and roughly two to four centimeters away from the foliage. As the seedlings grow, raise the reflector so the white surface consistently sits above the growing tips, ensuring light hits the plant canopy from multiple angles throughout the day.
Knowing when to move flats under supplemental lights
There comes a point in late winter where ambient window light simply cannot overcome the physics of latitude and cloud cover. Trying to force sun-loving crops to grow on a window during consecutive gray, drizzly weeks is an uphill battle. Recognizing early failure signs lets you intervene before stems become irrecoverably damaged.
Check your seedlings daily for these physical warnings:
- The stem segment between the soil line and the seed leaves extends past 3.5 centimeters before the first true leaves even begin to show.
- The stem appears translucent, watery, or pale white instead of deep green or purplish green.
- Cotyledons remain small, cup downward, or take on a yellowish cast.
- Seedlings tilt at an angle greater than 45 degrees toward the glass within six hours of being straightened.
When you see these signs, supplemental lighting is necessary. You do not need expensive commercial light systems; an ordinary 4-foot LED shop light or a pair of T5 fluorescent tubes fitted with 6500K daylight-spectrum bulbs will do the job. The critical detail is proximity. Place the lights between 5 and 8 centimeters above the tops of the seedlings. If the light source sits 30 centimeters away, the inverse-square law of light dissipation cuts photon density so drastically that the seedlings will continue to stretch. Run supplemental fixtures for 14 to 16 hours per day, regulated by a basic mechanical wall timer.
Rescuing slightly stretched stems during potting on
If your seedlings have already developed a mild case of windowsill stretch, do not throw them on the compost pile just yet. Many common garden plants can be rescued during potting on, provided their stems are still flexible and free of fungal constriction.
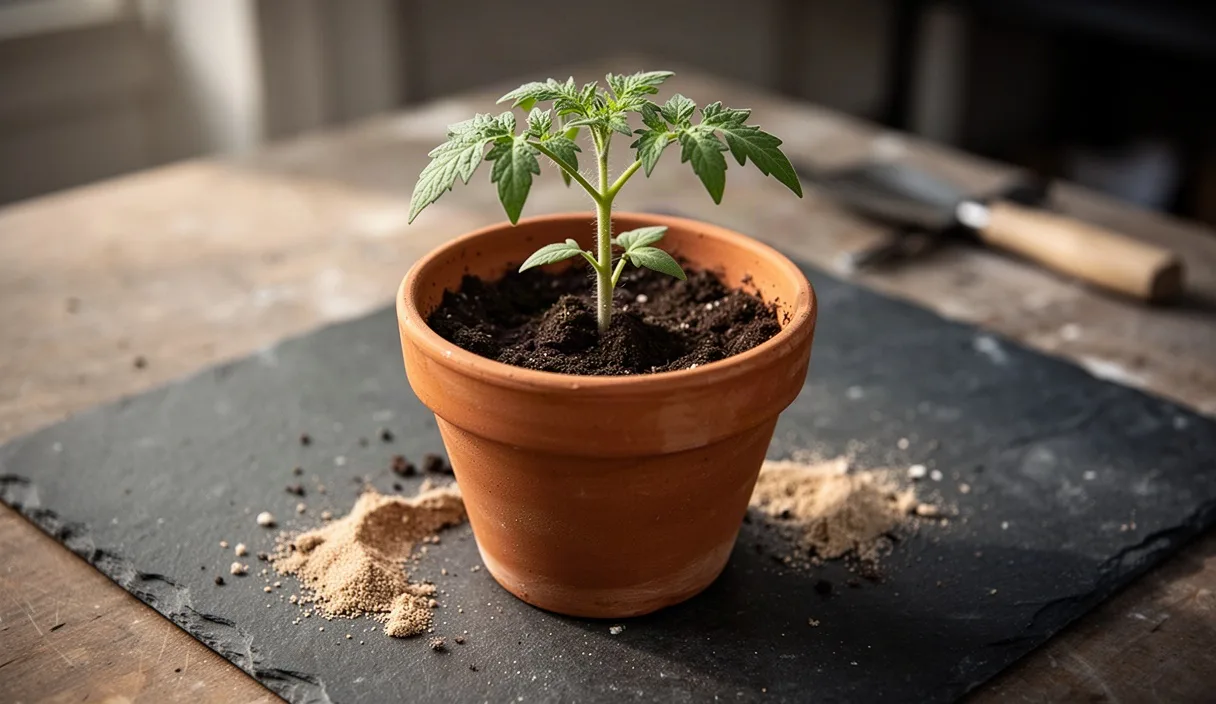
Different plant families respond differently to deep planting. Tomatoes are the easiest to rehabilitate because their stems are lined with adventitious root initials. When buried in moist compost, the entire buried stem segment ceases to be a stem and transforms into a robust root network. Peppers and eggplants can tolerate burial up to their seed leaves, but they do not root as quickly along the hypocotyl as tomatoes do. Brassicas, including kale, cabbage, and broccoli, can be buried right up to the base of the cotyledons, which stabilizes their top-heavy crowns.
Conversely, never bury cucurbits (cucumbers, squashes, and melons) or alliums deeper than they were originally growing. Cucurbit stems are hollow, fleshy, and highly vulnerable to soft rot organisms when buried in damp media. If a cucumber seedling gets leggy, it is better to discard it and sow another seed under warmer, brighter conditions, as cucurbits grow rapidly once outdoor light improves.
To pot on stretched tomatoes and brassicas safely, use this step-by-step method:
- Moisten the seedling plug thoroughly an hour before working. Dry root balls tear easily during extraction.
- Prepare a larger container, such as a 9-centimeter pot, filling it only one-third full with fresh, slightly damp potting compost.
- Extract the seedling gently by grasping a seed leaf between your thumb and forefinger. Never pull, pinch, or hold the stem itself; crushing the vascular tissue in a tender hypocotyl will kill the seedling.
- Position the seedling in the center of the new pot so that the root ball rests near the bottom. If the stem is exceptionally long, you can gently curve the lower stem into a shallow trench along the pot edge rather than forcing it straight down.
- Fill around the stem with potting mix until the soil level sits roughly one centimeter below the cotyledons. Firm the mix gently with your fingertips to eliminate large air pockets, but do not compress the soil into a tight block.
- Water carefully around the base using a small watering can fitted with a gentle rose, or bottom-water the pot in a shallow tray until the top surface shows moisture.
Place the newly potted plants in a cool, bright location out of scorching midday sun for forty-eight hours while they recover from root disturbance, then return them to full light.
Common mistakes
A frequent error is compensating for poor windowsill light by applying liquid fertilizer. When a gardener notices pale, spindly stems, the natural instinct is to feed the plant. However, delivering nitrogen to a low-light seedling forces rapid, watery cellular expansion without providing the light energy needed to build cell walls. The seedling shoots up even faster, weakening its structural integrity. Keep seedlings on plain water until their first true leaves are fully formed, and only use dilute feeds when growth is compact.
Another pitfall is leaving clear humidity domes or plastic cling film over the trays after the seeds have germinated. While high humidity helps the seed coat soften and split, keeping emerging shoots under plastic creates a warm, stagnant greenhouse effect. The trapped heat accelerates stem stretching while the condensation on the plastic deflects incoming sunlight. The combination of heat, low light, and still air also creates an ideal breeding ground for Pythium and Rhizoctonia fungi, leading to damping off, where the stem collapses at the soil line.
Watering from above with cold tap water can shock tender roots, chilling the root zone while the room air stays warm. This disconnect hampers the root system's ability to take up water and micronutrients evenly, compounding stress on already fragile stems.
Next steps for sturdier windowsill crops
Preventing leggy seedlings on a windowsill requires steady attention rather than complex gear. The immediate move is to audit your window space. Check the actual number of hours direct sunlight hits your chosen sill on a clear day, and locate an alternative room where you can provide that essential drop in night temperature.
Take an hour this afternoon to build a simple three-sided white reflector board to fit your tray dimensions. It costs practically nothing, sits neatly behind your flats, and balances the directional glare coming through the glass. Once your seeds germinate, pull off any plastic covers immediately, drop the night temperatures by 5 degrees Celsius, and give the leaves a gentle thirty-second brush with your palm twice a day. If persistent cloud cover blocks the sky for days on end, have a basic shop light ready to suspend over the flat before the stems begin their desperate climb.
This publication provides general horticultural advice for home gardeners; consult a professional agronomist or arborist for commercial crops or structural tree safety. Disclaimer