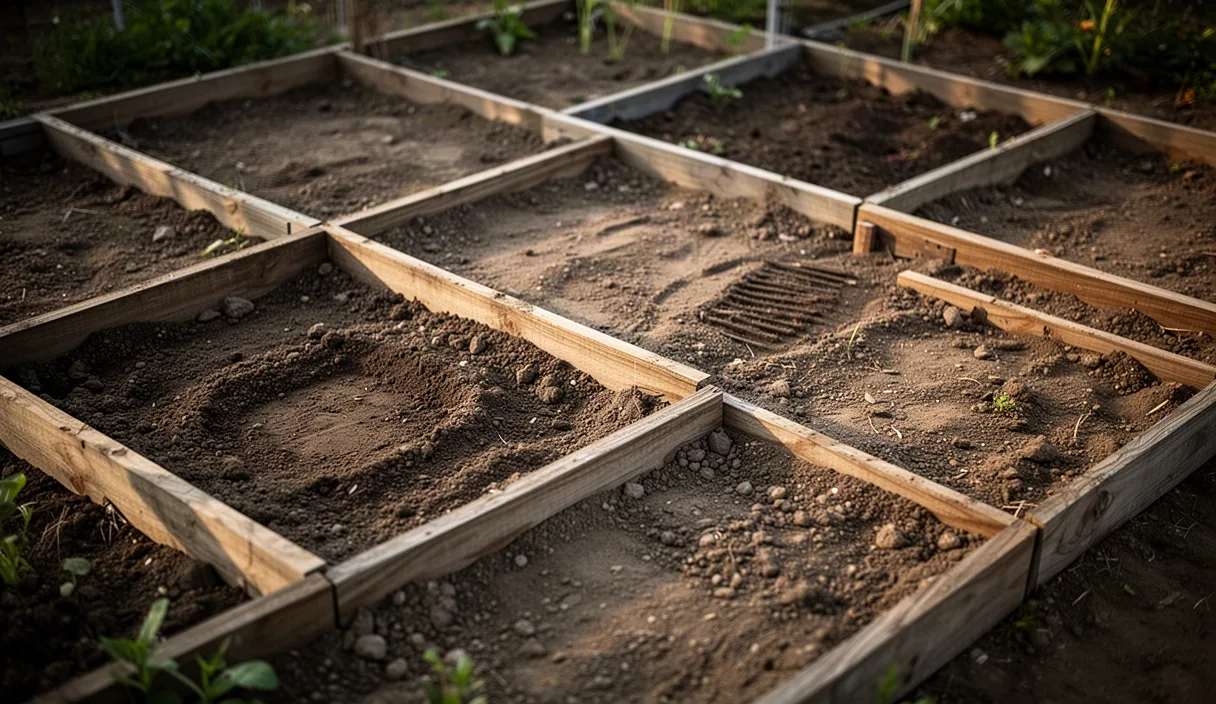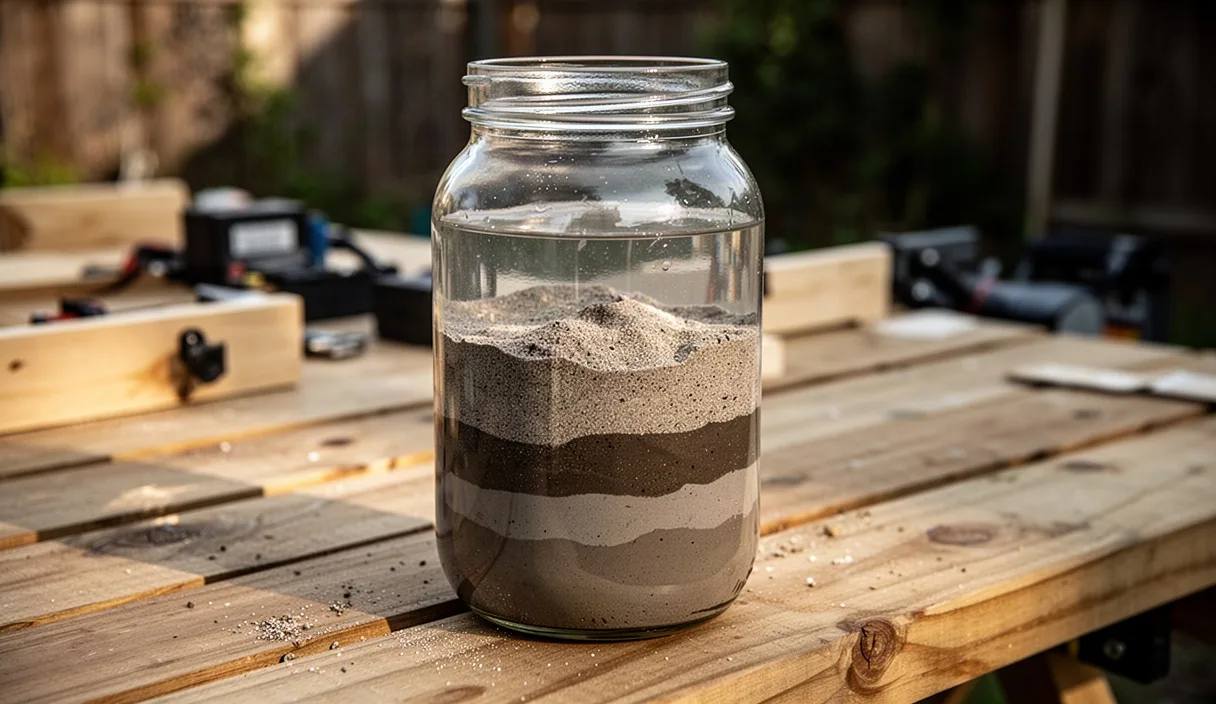
You will get your raised beds ready for early spring seeds even after weeks of heavy rainfall. Learn how to clear winter debris, aerate waterlogged soil, and apply a clean mulch layer without compacting the ground.
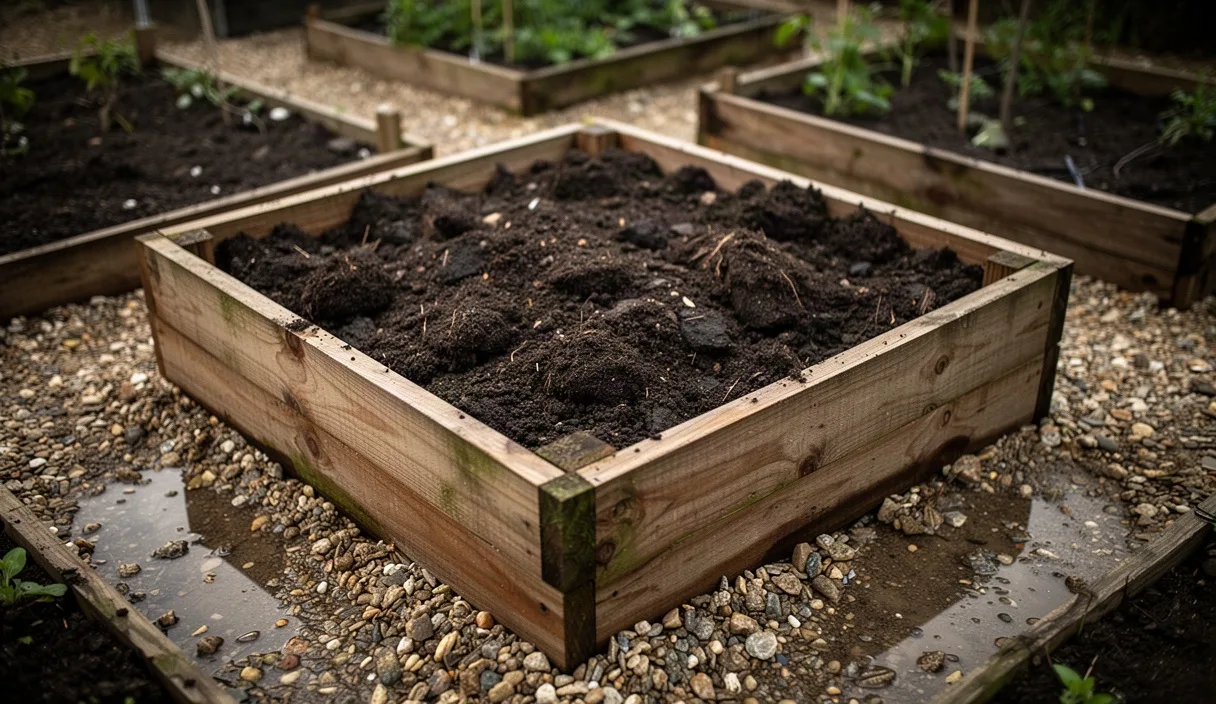

- Avoid walking directly on wet bed surfaces by using scaffold boards to distribute weight.
- Use a broadfork or garden fork to fracture compaction without turning over wet subsoil.
- Top beds with five centimetres of well-rotted compost to warm the surface for early sowings.
Raised beds drain faster than level ground, but an unbroken run of late winter rain can leave even well-built timber frames holding heavy, cold soil. When early spring arrives on the calendar, the instinct is to grab a spade and turn the earth immediately. Doing that to saturated soil, however, crushes the delicate pore spaces between soil crumbs, driving out oxygen and turning fertile loam into something with the texture of builders' mortar.
Working around wet soil requires a change of tempo. Instead of forcing beds open through deep digging, the goal is to encourage natural evaporation, protect the soil biology beneath the surface, and use simple physical covers to trap early seasonal heat. With a measured sequence of checks and low-disturbance tasks, you can have your raised beds warm, friable, and ready for your first early sowings without destroying your soil structure.
Assessing soil moisture before starting bed work
Before you lift a single tool, you need to know whether the soil is merely damp or genuinely waterlogged. Saturated soil has every microscopic void filled with water rather than air. Walking on it, kneading it, or slicing it with a blade shears the internal structural aggregates. Once those aggregates collapse, drying winds turn the surface into a hard brick that seedlings cannot penetrate.
Take a trowel and dig down 10 centimetres into the centre of your bed. Scoop out a golf-ball-sized portion of soil and squeeze it firmly in your palm. If water runs between your fingers, the bed is completely saturated and should not be disturbed at all. If the soil forms a slick, shiny ball that holds its shape when poked, it remains too wet for cultivation. What you want to see is a ball that holds together when squeezed but crumbles easily into loose, irregular crumbs when you press it lightly with your thumb.
You can also perform a quick ribbon test to gauge working readiness:
- Roll a small lump of moist soil between your palms to form a cylinder roughly 5 millimetres thick.
- If the cylinder breaks apart before reaching 3 centimetres in length, the soil is dry enough to handle immediately.
- If you can roll a thin ribbon longer than 5 centimetres that bends without cracking, clay particles are heavily suspended in moisture, and you should delay any physical work for another 4 to 6 days of dry weather.
Removing winter mulch remnants and persistent weeds
Winter mulches such as spent straw, shredded bark, or thick mats of fallen leaves do an excellent job of preventing erosion during torrential downpours. In early spring, however, that same protective layer works against you by acting as an insulating blanket that keeps the cold, damp conditions locked into the ground. Sunlight cannot reach the soil surface while a thick thatch remains in place.
Rake off coarse, wet organic mulches using a light plastic leaf rake or a hand cultivator. Pull the sodden material back to the timber edges or scoop it directly into a wheelbarrow to add to your compost bin. Aim to expose bare earth across the entire growing area. If you applied woodchips to the paths between your beds, inspect them now; if they are holding stagnant water, rake them open slightly to allow the subsoil below to breathe.
Persistent perennial weeds will have taken advantage of the mild, wet conditions under the mulch. Weeds such as docks, creeping buttercup, and dandelions establish long taproots that anchor into wet subsoil. Do not tug these by their leaves, as the crowns will simply snap off in wet earth. Instead, slide a narrow hand trowel or a daisy grubber vertically beside the root, lever back by 10 to 15 degrees to break the vacuum, and draw the entire root system out in one steady movement. Shake any clinging soil back into the bed.
Aerating waterlogged soil without digging
Traditional double-digging ruins the stratification of soil horizons and brings cold, anaerobic subsoil to the top. When wet beds need oxygen, you should fracture the compacted layers from beneath without inverting the profile. This process creates vertical drainage fissures that pull pooling surface water downward while drawing ambient air into the root zone.
A standard garden fork or a purpose-built broadfork is the best tool for this job. Position yourself on a timber plank laid across the bed walls so your body weight does not compress the soil you are trying to loosen. Push the tines of the fork straight down into the soil to their full depth, usually between 20 and 25 centimetres. Lean the handle back toward you by roughly 20 degrees, just enough to lift and crack the surface crust, then return the handle to vertical and pull the tool cleanly out.
Repeat this action every 15 centimetres across the length of the bed. You will hear an audible release of suction as air enters the damp earth. The ground should rise slightly without turning over, leaving the fungal mycorrhizae and worm channels undisturbed.
| Tool or Method | Soil Disturbance Level | Risk of Compaction in Wet Beds | Primary Function |
|---|---|---|---|
| Digging Spade (Turned) | High | Severe (creates smeared layers) | Inverting green manures in dry soil |
| Broadfork / Pitchfork | Low | Minimal when working from planks | Deep vertical fracture and aeration |
| Rotary Tiller | Severe | Catastrophic (creates hardpan base) | Fine seedbed prep in dry, sandy loam |
| Hand Cultivator (3-Prong) | Low | Low to moderate | Breaking thin surface crusts (top 3 cm) |
Applying an organic compost layer to warm the surface
Once the soil has been aerated and exposed, spreading a top dressing of dark, well-rotted organic matter speeds up warming significantly. Dark surfaces absorb thermal energy from low spring sunlight far more efficiently than pale, silt-rich soils. Additionally, finished compost provides a clean, friable medium for early root growth while the denser soil below finishes shedding excess moisture.
Select compost that is fully decomposed, dark brown or black, and smells earthy rather than sour. If your home compost heap spent the winter soaking wet, it may be too dense; consider buying in bags of well-aerated municipal green waste compost or screened mushroom compost instead. The material should have a moisture level similar to a wrung-out sponge, neither dusty nor dripping.
Spread a uniform layer between 3 and 5 centimetres deep across the entire bed surface. Do not mix this layer into the wet bed beneath. Leave it sitting on top as a true no-dig mulch. Worms and soil organisms will slowly draw the compost down into the fissures you created during aeration. The compost also creates a buffer layer that keeps early seeds out of the cold muck below, giving fragile roots a well-drained medium to colonise first.
Covering beds with black horticultural fabric to draw heat
While the sun provides radiant energy, spring weather often brings cold winds and sudden downpours that counteract your progress. Covering your newly dressed beds with a technical fabric captures heat through the greenhouse effect while shedding surplus rainwater off the sides of the structure.
Choose heavy-duty woven polypropylene ground cover or dedicated black horticultural fleece rather than thin, impermeable polythene sheet. Clear plastic produces high daytime heat, but it also triggers massive weed seed germination and allows condensation to build up rapidly, which drips straight back into the soil. Woven black fabric absorbs heat, transmits that thermal energy directly into the top 8 centimetres of the bed, and breathes sufficiently to allow excess moisture vapour to escape without creating anaerobic conditions underneath.
To secure the cover properly, follow this method:
- Cut the fabric so it overhangs the external perimeter of your raised bed frame by at least 10 centimetres on all sides.
- Pull the fabric taut across the surface to minimise air pockets between the textile and your compost layer.
- Fasten the edges to the outer timber walls using battens screwed into the wood, or push heavy steel ground staples through the fabric directly into the interior bed edges at 40-centimetre intervals.
- Leave the fabric continuously in place for 10 to 14 days before your intended planting date, checking underneath once a week to ensure slugs are not congregating in the shelter.
Testing bed warmth before sowing early seeds
Sowing by the date on a seed packet is a gamble when the ground is damp. Cold, damp soil causes seeds to rot before they can sprout, because germination enzymes remain dormant below specific thermal thresholds. Broad beans, garlic, and parsnip seeds can tolerate low temperatures, but they still require stable warmth to establish strong root anchors.
Invest in an analogue or digital soil thermometer with a probe length of at least 12 centimetres. Do not rely on ambient weather forecasts or surface touch. Soil warms from the top down and cools rapidly overnight, meaning a warm afternoon does not translate to warm soil at planting depth.
Insert the probe 7 to 8 centimetres into the centre of the bed at roughly 9 o'clock in the morning. Taking your reading at this hour gives you the baseline soil temperature before direct sunlight artificially inflates the surface figure. Wipe the probe clean between checks to ensure accurate readings.
- Under 5 degrees Celsius: Growth is completely stalled. Keep the black fabric covers secured and wait for consistent conditions.
- 6 to 8 degrees Celsius: Suitable for planting out cold-hardy sets such as autumn-sown onion sets, early broad beans, and direct-sowing round-seeded peas.
- 9 to 12 degrees Celsius: Safe for early root vegetables, including radish, early horn carrots, spinach, and turnip varieties.
- Above 13 degrees Celsius: Safe for beetroot, Swiss chard, and brassica transplants that have been hardened off in a cold frame.
Common mistakes when managing wet raised beds
The most frequent error allotment holders make is walking directly on the growing area during spring cleanup. Even light footsteps compact saturated soil to a depth of 15 centimetres, undoing months of natural aeration from winter frosts. Always bridge the walls of your beds with a scaffold board or scaffold plank to distribute your weight evenly when reaching toward the centre.
Another common mistake is adding fresh, uncomposted animal manures to saturated beds. Fresh manure releases volatile ammonia when wet and creates an anaerobic, greasy film over the soil surface that blocks natural air transfer. Reserve hot manures for late autumn application, or compost them thoroughly in a separate bay until they break down into a sweet, crumbly structure.
Finally, avoid leaving clear plastic sheeting laid flat on wet soil for extended periods. While it warms the soil fast on bright afternoons, it acts as a solar still, pulling moisture up to the surface where it pools against the plastic, only to settle back into the surface crust at nightfall. Stick to breathable, woven textiles or low polytunnels held above the bed surface on wire hoops.
Next steps for early spring success
Begin by checking the physical condition of your soil using the squeeze test this weekend. If your bed passes the crumb test, rake away old mulches, lift and aerate with a fork from a wooden plank, and lay down your 4-centimetre cap of dark compost immediately. Fasten your woven black fabric down securely, and keep an eye on your soil thermometer over the coming two weeks.
While the beds heat up under their covers, use the waiting time indoors to check your seed stocks, clean your seed trays, and verify that your tools are sharp and rust-free. Once that morning soil thermometer reading consistently clears 8 degrees Celsius, you can peel back the covers, draw your first shallow drills, and start your season with genuine confidence.
This publication provides general horticultural advice for home gardeners; consult a professional agronomist or arborist for commercial crops or structural tree safety. Disclaimer