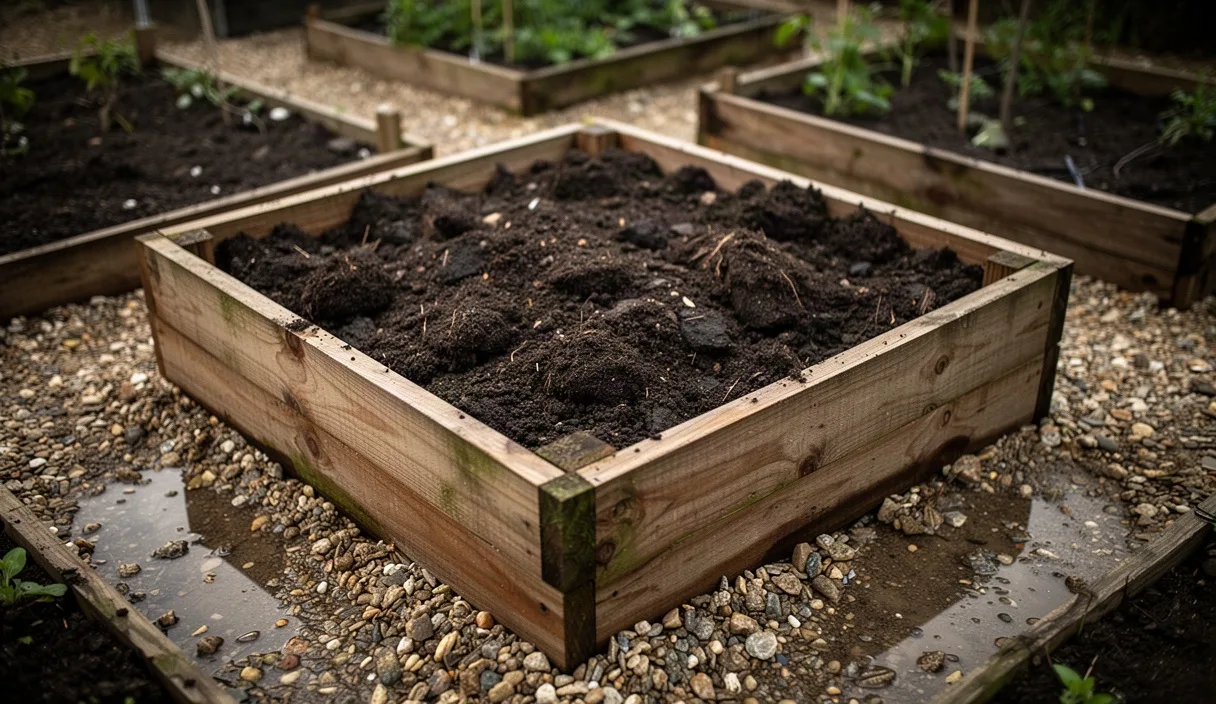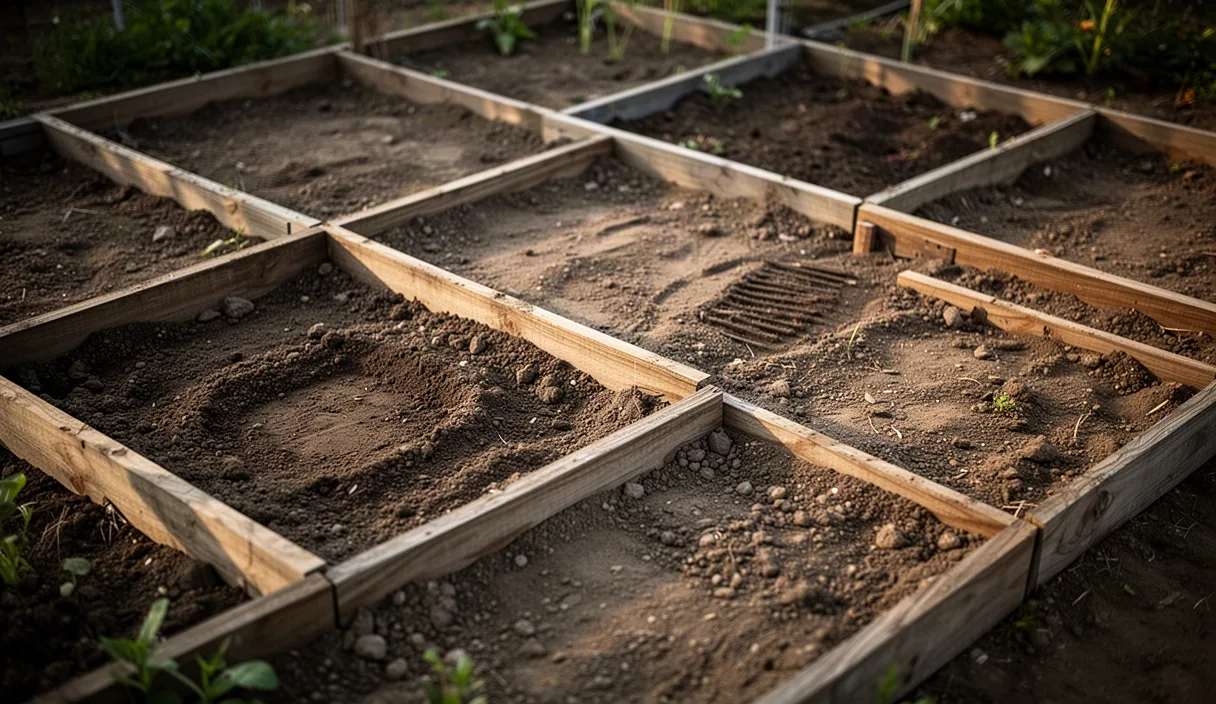
You can assess your garden clay with simple home tests and turn heavy ground into friable planting soil over time. Learn which organic amendments loosen compacted beds without damaging natural soil structure.
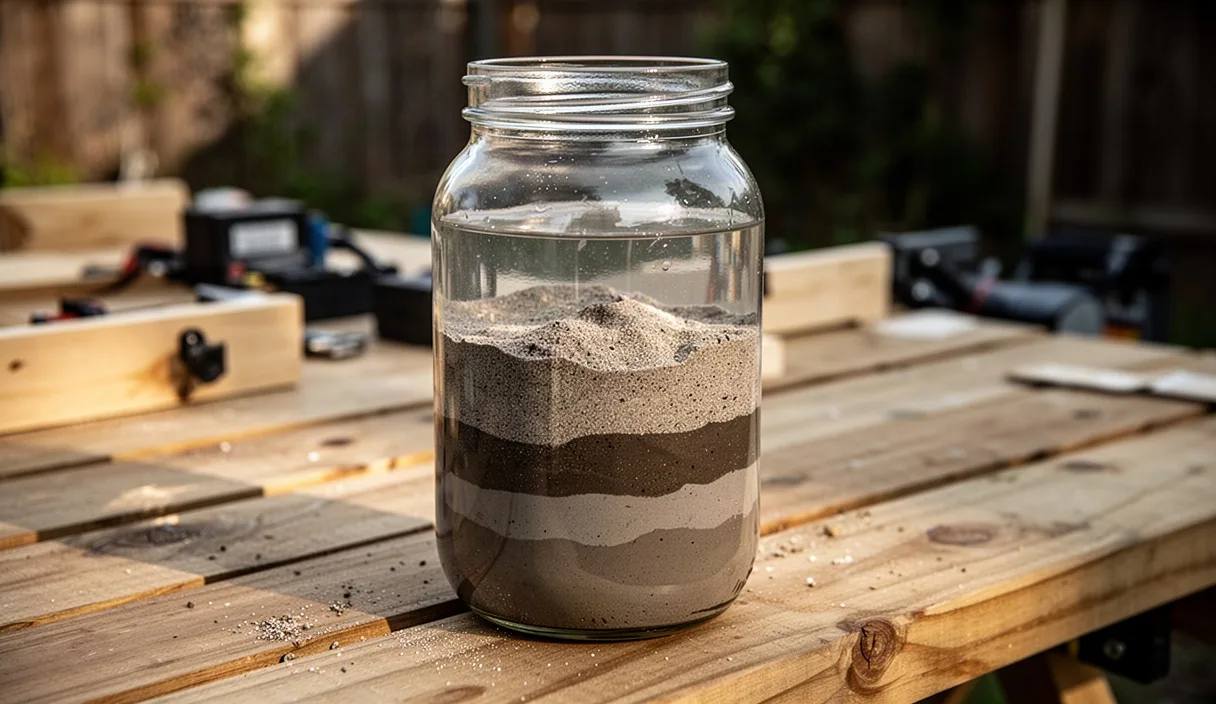

- Use a simple jar shake test to determine the exact proportion of clay in your soil.
- Never work heavy clay when it is sodden to avoid creating impenetrable clods.
- Spread coarse compost and leaf mould over the surface rather than rotavating deeply.
Heavy clay soil has an undeserved reputation for being an outright enemy of the kitchen gardener. In truth, clay holds onto nutrients and water far better than loose sand ever will, providing a deep mineral pantry for demanding vegetables like brassicas and squashes. The difficulty lies entirely in its physical temperament. When saturated, it behaves like modeling paste, and when baked dry in midsummer, it sets into something resembling unglazed pottery.
Working successfully with clay comes down to timing, gentle handling, and accurate assessment. Before you scatter seed or buy truckloads of amendments, you need to understand the balance of sand, silt, and pure clay sitting in your vegetable patch. Simple field tests will tell you what you are up against, allowing you to loosen and aerate the ground without destroying its natural structure in the process.
The jar shake test for checking soil texture
The jar shake test provides an inexpensive, clear visual breakdown of your soil mineral proportions. It relies on a basic law of physics: heavy sand particles settle out of water almost immediately, medium-sized silt particles settle over the course of an hour or two, and tiny, microscopic clay plates remain suspended for up to two days. Running this test gives you an objective picture of your bed before you plan your planting calendar.
To run the test, clear away surface debris and dig down 15 centimeters to gather an undisturbed sample. Spread the soil out on a tray or piece of cardboard to air-dry completely, then crumble it by hand and pass it through a kitchen sieve or a 2-millimeter wire mesh to remove stones, twigs, and hard gravel. Fill a straight-sided glass jar roughly one-third full with this sieved, dry earth.
Follow these steps to complete the separation:
- Add clean tap water until the jar is roughly four-fifths full.
- Add a single teaspoon of powdered liquid detergent or water softener to keep the microscopic clay plates from clumping together prematurely.
- Screw the lid on tightly and shake vigorously for three full minutes until all clods break down into a uniform muddy slurry.
- Set the jar on a level, vibration-free surface and note the time immediately.
- Measure the settled sand layer at 60 seconds with a ruler.
- Measure the silt layer, which settles directly on top of the sand, after two hours.
- Leave the jar undisturbed for 48 hours, then measure the top clay band.
Once the layers are distinct, measure the total height of all three bands combined, then calculate the fraction for each layer. A soil with more than 35 percent settled clay falls into the heavy clay category. If the water remains cloudy even after two full days, you have an appreciable quantity of colloidal clay, which stays buoyant indefinitely without flocculation.
The ribbon test for assessing clay plasticity
Where the jar test takes days, the ribbon test gives you a workable assessment in two minutes directly in the field. This method checks the plasticity and cohesion of moist soil, which reveals how strongly individual particles bind to one another. Highly plastic soil requires far more patience in spring because it resists water drainage and forms suffocating surface crusts when dried by wind.
Take a small lump of soil about the size of a walnut from beneath the dry crust of your vegetable bed. Dribble a little water onto it, or squeeze it in a dry cloth if it is already soaked, until it reaches the consistency of firm putty. Knead the ball thoroughly between your fingers. If the ball cracks and crumbles immediately, coarse sand dominates. If it holds together smoothly without feeling sticky, silt is doing the work.
To form the ribbon, push the moist ball upward between your thumb and the side of your forefinger, squeezing it into a flat band roughly 3 millimeters thick. Allow the ribbon to extend out over your finger until its own weight causes it to break off. Measure the broken length to interpret the result:
| Ribbon Length | Soil Classification | Practical Implication for Cultivation |
|---|---|---|
| Under 2.5 centimeters | Loam or Sandy Clay Loam | Drains relatively well; can be sown earlier in spring. |
| 2.5 to 5 centimeters | Clay Loam | Retains water; requires modest organic additions before direct drilling. |
| Over 5 centimeters | Heavy Clay | Extremely cohesive; forms dense clods if worked while damp. Needs surface-only care. |
If your soil easily casts a ribbon longer than 5 centimeters and takes on a glossy, wet sheen when rubbed hard against your palm, you are dealing with true heavy clay. Knowing this saves you from attempting early fine-seed sowings in March, when cold ground and dense particle pack will rot the seed before it can sprout.
Why rotary tilling damages wet clay soil structure
When faced with dense ground, the intuitive human response is often mechanical force. Hiring a motorized rotary tiller seems like an afternoon shortcut to a crumbly seedbed, but running spinning steel blades through moist clay is among the fastest ways to ruin an allotment for years. Clay particles are shaped like flat, microscopic plates held together by chemical bonds; violent mechanical shearing shatters these plates apart into an unstructured dust.
As the rotating blades slice downward into damp earth, the flat bottoms of the tines smear against the subsoil beneath the worked layer. This smearing friction polishes the clay, sealing every natural pore and worm burrow to create a dense, impervious pan roughly 15 to 20 centimeters down. Rainwater cannot filter through this artificial floor, turning your topsoil into a soupy bathtub during autumn downpours, while plant roots hit an impenetrable barrier as soon as they try to anchor deeply.
Above that smeared pan, the pulverized clay surface fares no better. The very first heavy rainstorm breaks the shattered dust down into a thick slurry. When the sun emerges, this slurry dries into a solid, concrete-like surface crust that prevents air from reaching the root zone and snaps emerging seedling stems clean off. Working heavy ground requires tools that lift, fracture, and crack the soil along its natural cleavage lines, such as a sturdy digging fork or broadfork, rather than machines that puree it.
Applying surface organic mulches to encourage earthworm activity
Improving dense earth does not require you to haul and bury tons of manure by hand. Soil organisms, particularly deep-burrowing anecic earthworms such as Lumbricus terrestris, are far more efficient at moving organic matter into the lower profiles than any shovel. By applying a thick blanket of organic mulch to the surface, you feed these organisms while shielding the sensitive clay plates from the destructive impact of falling raindrops.
Earthworms emerge at night to pull surface residues down into their vertical burrows, which often extend down more than a meter. As they digest this material alongside mineral soil, they excrete casts that are naturally balanced, pH-neutral, and bonded by microbial glues. These worm casts resist washing away, creating stable, granular soil crumbs that leave wide channels for root passage and air circulation. A healthy earthworm population can turn over dozens of tons of soil per hectare annually without any disruption to the surface bed.
To establish this cycle, lay down an 8-centimeter layer of coarse organic material across your beds every autumn or early spring. Suitable mulches include:
- Well-rotted garden compost or spent mushroom substrate.
- Shredded deciduous leaves that have aged in a pile for at least six months.
- Clean, weed-free cereal straw spread over an initial thin dusting of aged manure.
- Well-composted wood chips derived from arborists, applied strictly to paths or established perennial beds.
Avoid digging these mulches into the clay. Burying un-decomposed raw mulch deep underground creates anaerobic pockets, where lack of oxygen causes organic matter to ferment into compounds toxic to root development. Leave the mulch on top, let the weather soften it, and trust the soil life to incorporate it at its own steady pace.
Using green manures to open channels through dense subsoil
Plants themselves make outstanding soil conditioning tools. Green manures, often termed cover crops, possess root systems capable of exerting hydrostatic pressure that exceeds human muscle power. Selecting the correct botanical species allows you to puncture tight clay profiles, cycle dormant nutrients back to the surface, and leave behind extensive vascular networks when the plants die back.
The champion for breaking subsoil pans is the daikon or forage radish (Raphanus sativus var. longipinnatus). Sown in late summer, roughly six to eight weeks before the first hard frost, daikon sends a thick, fleshy taproot 30 centimeters or deeper straight down into compacted clay. It also drives finer feeder roots down past a meter. When winter temperatures drop below minus six degrees Celsius, the radish foliage and taproot freeze and die. As the thick root rots away over winter, it leaves a cavernous, vertical hole that allows spring rain to drain away and lets subsequent vegetable roots dive deep without resistance.
Fibrous-rooted cover crops offer a complementary benefit by knitting together the upper 15 centimeters of topsoil. Winter rye (Secale cereale) produces thousands of meters of microscopic root hairs that separate clay plates and coat them with root exudates. For legume nitrogen fixation alongside physical breakup, field beans (Vicia faba) stand up to severe frost and maintain stout, sturdy root structures that hold heavy plots open through sodden winter months.
Creating workable seedbeds using surface tilth methods
Sowing small seeds like carrots, parsnips, and onions into heavy clay tests the patience of even experienced growers. If you wait for the entire bed to dry completely, you miss the spring moisture window; if you sow too early into cold muck, the seeds perish. The solution is creating a shallow, workable surface tilth in the top 3 centimeters while leaving the structural subsoil undisturbed below.
Begin by testing moisture content in early spring. Squeeze a handful of topsoil into a ball and drop it from waist height onto the path. If it lands with a dull thud and stays in a wet lump, stay off the bed. If it shatters into crumbly pieces, the soil is dry enough to accept surface cultivation. Working clay while walking across it causes severe compaction, so always work from timber stepping boards or narrow side paths to distribute your body weight evenly.
To prepare the sowing zone, lightly draw a rigid steel rake or three-pronged hand cultivator across the upper few centimeters, breaking up winter-weathered frost crusts. If the native soil remains too coarse for fine seeds, do not hammer it into dust. Instead, adopt the seed-capping method:
- Use the corner of a hoe to draw your seed drill roughly 2 centimeters deep into the clay bed.
- Water the base of the open furrow thoroughly before dropping in your seeds, ensuring moisture sits right beneath them.
- Sow the seed along the base of the trench at the recommended spacing.
- Cover the seed not with the native clay you scooped out, but with finely sifted, mature garden compost or a peat-free potting mix.
- Tamp the compost down gently with the back of the rake to ensure seed contact.
This technique provides a warm, loose, crumbly medium through which delicate hypocotyls can emerge without confronting a solid crust, while the main root system immediately pushes down into the mineral-rich, moisture-holding clay below.
Common mistakes
Working with heavy soils often leads gardeners to take drastic steps that backfire. Avoid these four common missteps:
- Adding construction sand to heavy clay: Unless you add immense volumes of coarse grit exceeding the volume of the clay itself, fine sand mixes with clay platelets to create an aggregate with the mechanical properties of low-grade concrete. Stick exclusively to coarse organic amendments.
- Walking on wet beds: Stepping onto damp clay forces all residual air out of the macropores, instantly compacting the root run. Always use wide wooden walking boards to distribute your load across the bed.
- Digging late in spring: Deep spading in spring turns up cold, wet slabs that dry in the wind into rock-hard clods that resist breaking down for the rest of the growing season. Dig in late autumn if you must invert the soil, allowing winter frost to shatter the blocks naturally.
- Applying raw lime without a soil test: Gardeners sometimes spread lime under the belief that it breaks up clay through flocculation. While calcium does encourage clay aggregation, adding lime to soils that are already neutral or slightly alkaline can lock up iron, phosphorus, and manganese. Always check your pH before spreading agricultural lime or gypsum.
Practical next steps
Begin your soil improvement plan this week by setting up a jar shake test from two or three distinct zones of your garden plot. Take samples from areas where water pools longest after rain, as well as beds that have produced poor root crops in past seasons. While those samples settle over the required 48 hours, conduct a ribbon test to verify the plasticity of the earth you are working with.
Next, assemble your surface mulching materials. Measure the square meterage of your growing areas and arrange for roughly 8 centimeters of clean compost, well-rotted manure, or leaf mold to be delivered before the autumn rains arrive. If beds are currently empty mid-season, purchase daikon radish or winter field bean seed to get living roots into the profile before winter shuts down biological activity. Clay takes a season or two of steady, gentle management to settle into a cooperative rhythm, but the deep fertility it yields is well worth the initial discipline.
This publication provides general horticultural advice for home gardeners; consult a professional agronomist or arborist for commercial crops or structural tree safety. Disclaimer